12/26/2023 10:18 am
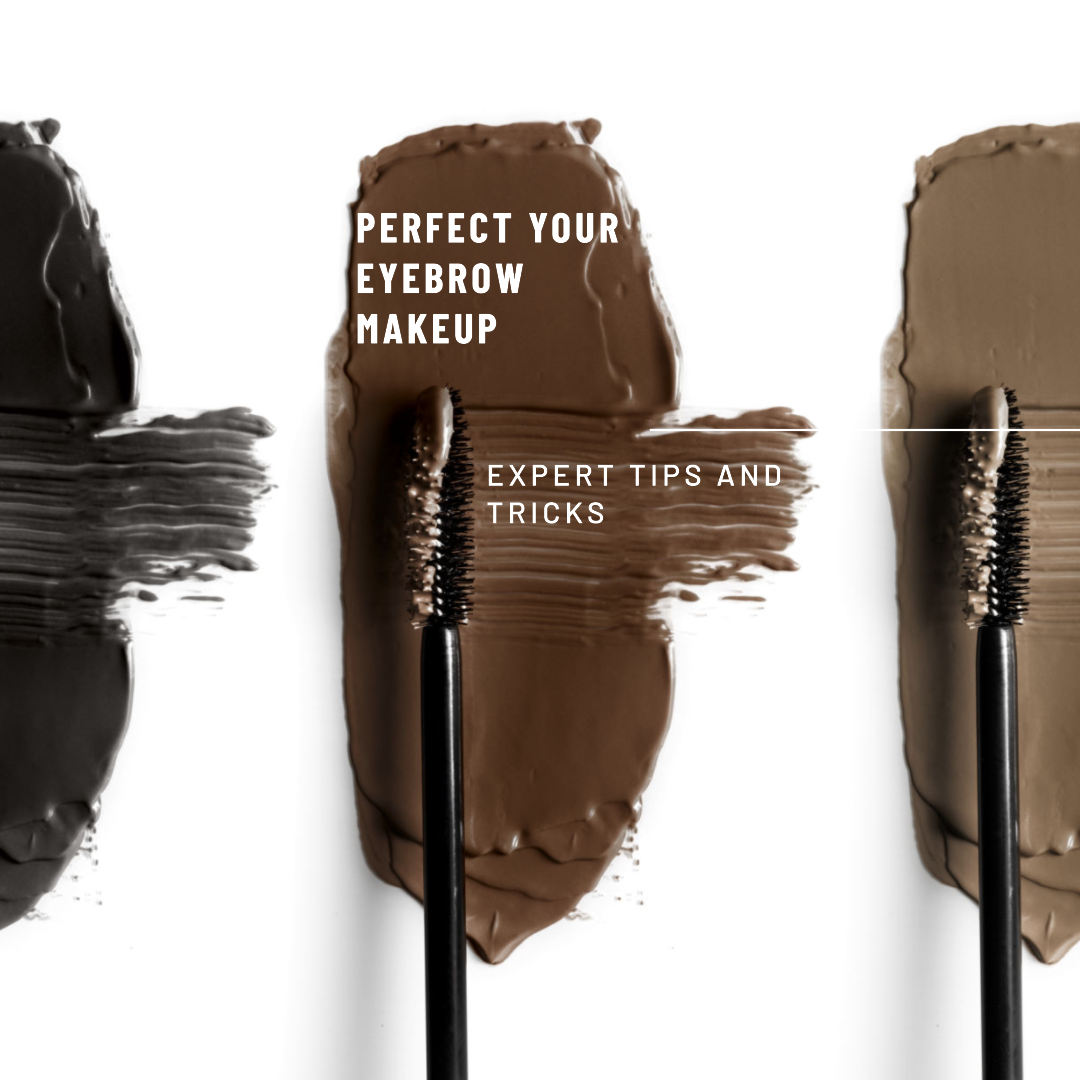 Are you tired of sparse, shapeless eyebrows that lack definition? Well, you’re in luck because we’re here to guide you through the art of eyebrow makeup. Whether you want to achieve bold, statement brows or a natural, everyday look, we’ve got you covered.
In this comprehensive guide, we will walk you through step-by-step instructions to help you perfect your eyebrow makeup game. From shaping and filling in your brows to setting them in place, we’ll cover all the essential tips and tricks for flawless eyebrows.
So, grab your makeup brushes and get ready to rock those brows!
1. Start with the Right Tools
Before diving into the world of eyebrow makeup, make sure you have the right tools in your arsenal. Here are the essentials you’ll need:
## 1 Eyebrow Brush/Spoolie
An eyebrow brush or spoolie is used to tame unruly brows and blend in any product for a natural finish. It’s essential for combing through your eyebrows before and after applying makeup.
##2 Eyebrow Pencil
An eyebrow pencil is ideal for filling in sparse areas and defining the shape of your brows. Look for a pencil that matches your eyebrow color or is slightly lighter for a softer look.
##3 Brow Powder
Brow powder is great for achieving a natural, soft-focus effect. It helps fill in any gaps and adds depth to your brows. Opt for a shade that matches your hair color.
##4 Brow Gel
Brow gel is the final step in perfecting your eyebrow makeup. It holds your brows in place and adds a subtle tint. Clear brow gel is ideal for a natural look, while tinted gel adds more definition.
Now that you have the right tools, let’s move on to the next step.
2. Determine Your Eyebrow Shape
Before you start filling in your brows, it’s crucial to determine your ideal eyebrow shape. The right shape will enhance your features and frame your face. Here’s how to find your perfect shape:
## 1 Start with the “Three-Point Rule”
Using a pencil or a makeup brush, hold it vertically against the side of your nose, aligning it with the inner corner of your eye. This is where your eyebrow should begin. Mark this point lightly.
Next, pivot the brush from the edge of your nose to the outer corner of your eye. This marks the spot where your brow should end. Make another light mark.
Finally, pivot the brush from the edge of your nose to the highest point of your arch, which is typically above the outer edge of your iris. This marks the highest point of your brow arch. Make a third light mark.
## 2 Connect the Dots
Using the marks as a guide, lightly draw a line along the bottom and top of each brow. This will give you an idea of the overall shape you want to achieve.
Don’t worry if your brows are naturally asymmetrical. A gentle adjustment in shape can give you beautifully balanced brows.
## 3 Fill in and Extend
Now that you have your shape, start filling in any sparse areas using your eyebrow pencil or powder. Use short, hair-like strokes to mimic the appearance of natural eyebrows.
If you want a more defined or elongated tail, extend your brow slightly beyond the mark you made for the end of your brow.
Remember to blend the color into your natural brow hair for a seamless look.
Great! You have now determined your eyebrow shape. Let’s move on to the next step – filling in your brows.
3. Fill in Your Brows
Filling in your brows is where the magic happens. It adds fullness and definition, transforming your brows from ordinary to extraordinary. Here’s how to do it:
## 1 Start with the Underneath
Begin by filling in the bottom part of your brow, focusing on the areas that need the most filling. Keep your strokes light and feathery for a natural effect.
## 2 Move to the Top
Next, work on the top part of your brow, following the natural shape. Use quick strokes to mimic the direction of hair growth.
## 3 Blend and Brush
Once you’ve filled in your brows, use an eyebrow brush or spoolie to blend the product and distribute it evenly. This step ensures a soft, natural finish.
Pro Tip: If you accidentally apply too much product, don’t panic! Use a clean spoolie to brush through your brows and tone down the intensity.
Now let’s take a look at the next critical step – setting your brow makeup in place.
4. Set Your Brows
Setting your brows is essential to keep them in place all day and prevent smudging. Follow these steps to set your brow makeup effectively:
## 1 Brow Gel
Start by applying a clear brow gel or one that matches your hair color. The gel will hold your brow hairs in place, preventing them from straying throughout the day.
## 2 Tinted Brow Gel (Optional)
If you prefer a bolder look, you can opt for a tinted brow gel that adds extra color and definition to your brows. Choose a shade that complements your natural hair color.
## 3 Brush and Set
Use an eyebrow brush or spoolie
to comb through your brows in an upward motion. This will help distribute the gel evenly and set each hair in place.
Congratulations! You’ve mastered the art of eyebrow makeup. Now you can flaunt gorgeous, well-defined brows every day.
Remember to practice and experiment with different techniques to find what works best for you. And most importantly, embrace your natural brow shape and have fun with your makeup!
Part 2: Advanced Techniques for Eyebrow Shaping and Troubleshooting
Welcome back to our comprehensive guide on how to do eyebrow makeup. In Part 1, we covered the basics of determining your eyebrow shape, filling in your brows, and setting them in place. Now, let’s dive into some advanced techniques to take your eyebrow game to the next level. We’ll also address common eyebrow makeup mistakes and how to fix them.
## 1. Shaping and Defining Your Brows
While filling in your brows can do wonders, shaping them is equally important for a polished look. Here are a few techniques to help you shape and define your eyebrows:
## 1 Tweezing
For precise shaping, tweezing is an effective method. Use a pair of slanted tweezers to remove stray hairs outside the desired eyebrow shape. Remember to only pluck individual hairs at a time and follow your natural arch.
Pro Tip: Fill in your brows before tweezing to get a clear view of the shape you want to achieve.
## 2 Brow Wax
Brow wax is a fantastic tool for taming unruly eyebrow hairs and keeping them in place. Apply a small amount of brow wax using a spoolie or a clean mascara wand. It will provide a sleek, polished look while ensuring your brows stay put throughout the day.
# 3 Concealer for Precision
To achieve ultra-defined brows, use a creamy concealer that matches your skin tone or is slightly lighter. Apply it along the edges of your eyebrows using a small, angled brush to clean up any uneven lines and razor-sharp borders.
Pro Tip: Blend the concealer seamlessly for a natural finish by using a clean brush or a makeup sponge.
Now that you have mastered shaping and defining your brows, it’s time to address some common eyebrow makeup mistakes and how to fix them.
2. Troubleshooting Common Eyebrow Makeup Mistakes
Even the most skilled makeup enthusiasts can encounter eyebrow mishaps. But fear not! We have solutions for some of the most common brow blunders:
## 1 Overfilling
If you accidentally apply too much product and your brows look unnaturally bold, don’t fret. Simply brush through your brows with a spoolie to soften the color and distribute it evenly. Remember to start with light strokes and build up the intensity gradually.
## 2 Uneven or Asymmetrical Brows
If your eyebrows appear uneven or asymmetrical, the key is to make subtle adjustments rather than attempting to create identical brows. Use an eyebrow pencil or powder to fill in sparse areas or add tiny strokes where needed. Then, carefully blend the color to achieve balance.
## 3 Smudged or Uneven Lines
If your eyebrow lines are smudged or uneven, use a cotton swab or a clean brush dipped in micellar water or makeup remover to gently erase and clean up any mistakes. Then, redefine the lines with your chosen eyebrow product, keeping in mind the desired shape.
Pro Tip: Applying a bit of translucent powder beneath your brows before starting can help prevent smudging and make it easier to clean up any mistakes.
3. Enhancing Your Brows with Extra Techniques
For those who want to take their brow game to the next level, here are a few extra techniques to enhance your eyebrows:
## 1 Highlighting
To accentuate your brows and create a lifted effect, apply a highlighter or a light eyeshadow directly under your brow bone. Blend it gently using a clean brush or your fingertip for a subtle, eye-catching glow.
## 2 Brow Pomade
If you desire the boldest, most defined brows, reach for a brow pomade. This creamy gel-like formula provides intense color and excellent staying power. Apply it with an angled brush using short, precise strokes for a sculpted and dramatic look.
## 3 Brow Tinting
If you have lighter brows or want a longer-lasting solution, consider brow tinting. This semi-permanent procedure involves adding dye to your brows, giving them a fuller, more defined appearance. Consult a professional to ensure a safe and satisfactory result.
Congratulations! You have now mastered advanced techniques for shaping your brows and troubleshooting common mistakes. With these tips in your beauty arsenal, you’ll confidently rock stunning eyebrows every time.